
The Process - How You Can Build One
This process has been amazingly rewarding, not only for the students involved, but also for ourselves as teachers. It is hard to describe the energy and excitement this project generated.
For this reason, we have decided to start this website, in the hopes that it can become a resource for any school who may want to do something similar. In the future, we could like to see schools collaborating with ideas and sharing their ways of celebrating the spark.
Due to its nature, making a sparks mural requires a certain level of organization.
After speaking with the principal or responsible party and asking for permission to start planning the mural, the first step is figuring out where the mural will the located. This will also help you determine the size of the mural.
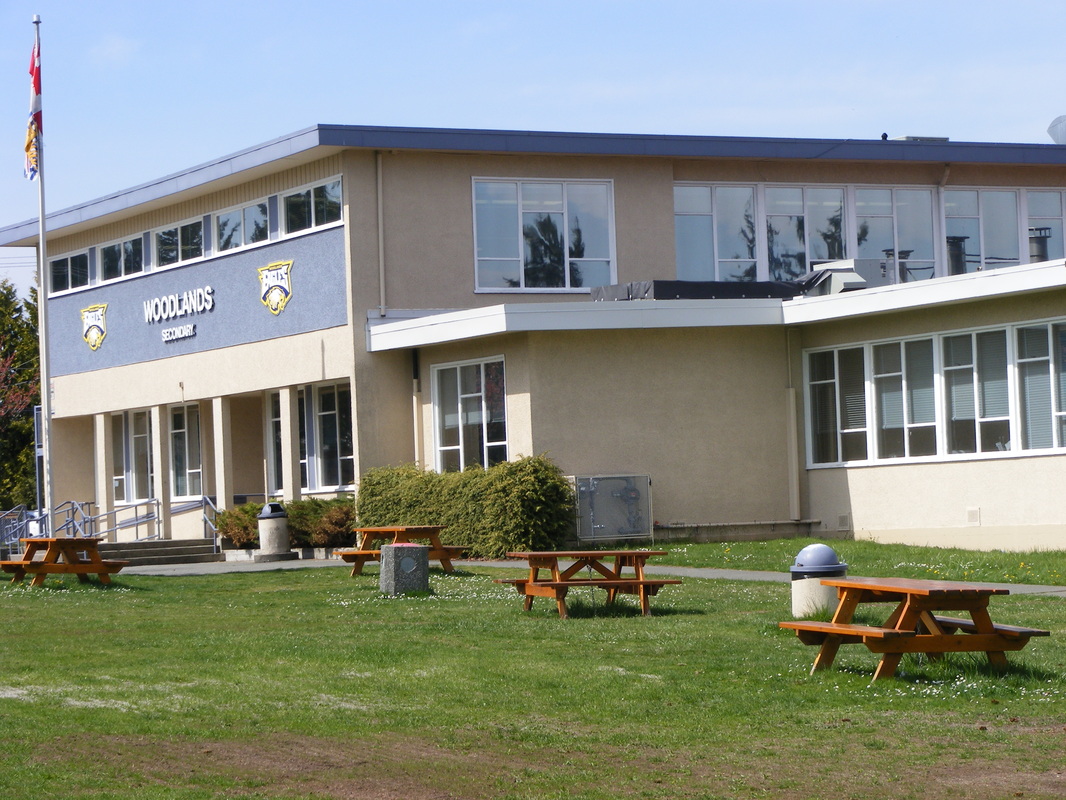
On our school, we had a few options. In the end, we decided to go with the front wall of the school, which was very bare and prominent.
For this reason, we have decided to start this website, in the hopes that it can become a resource for any school who may want to do something similar. In the future, we could like to see schools collaborating with ideas and sharing their ways of celebrating the spark.
Due to its nature, making a sparks mural requires a certain level of organization.
After speaking with the principal or responsible party and asking for permission to start planning the mural, the first step is figuring out where the mural will the located. This will also help you determine the size of the mural.
On our school, we had a few options. In the end, we decided to go with the front wall of the school, which was very bare and prominent.
Too small, and hard to see.
|
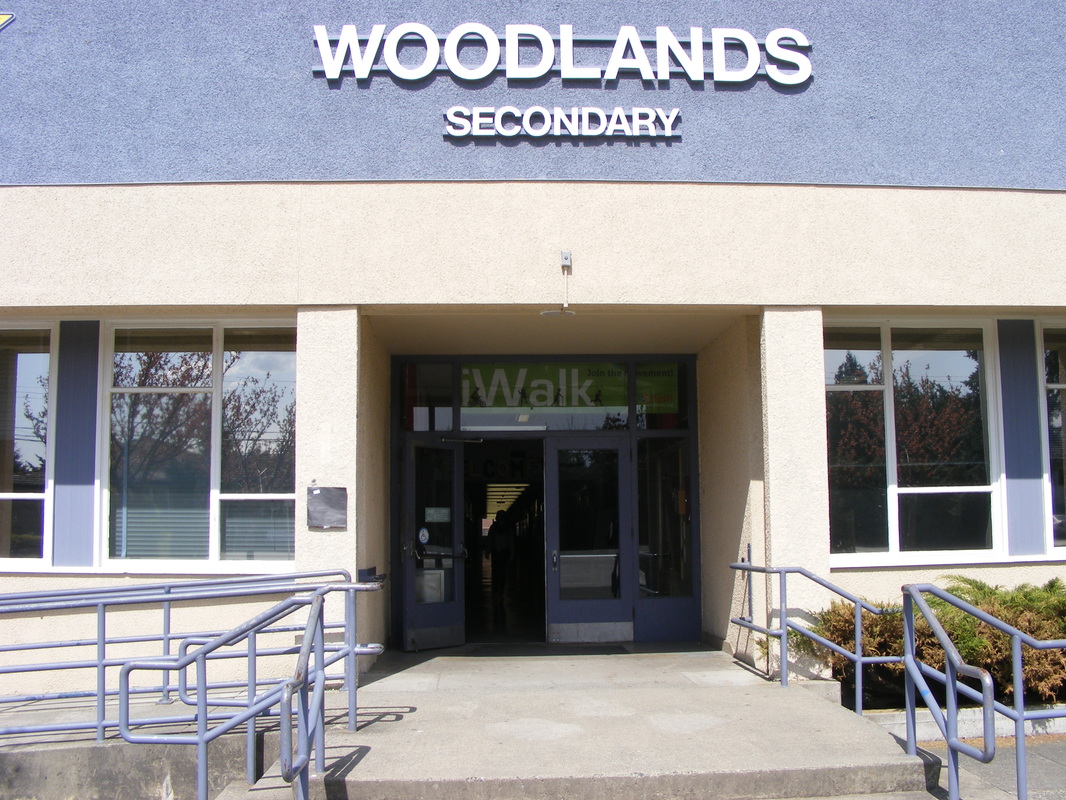
Above the wall? We wanted to go bigger.
|
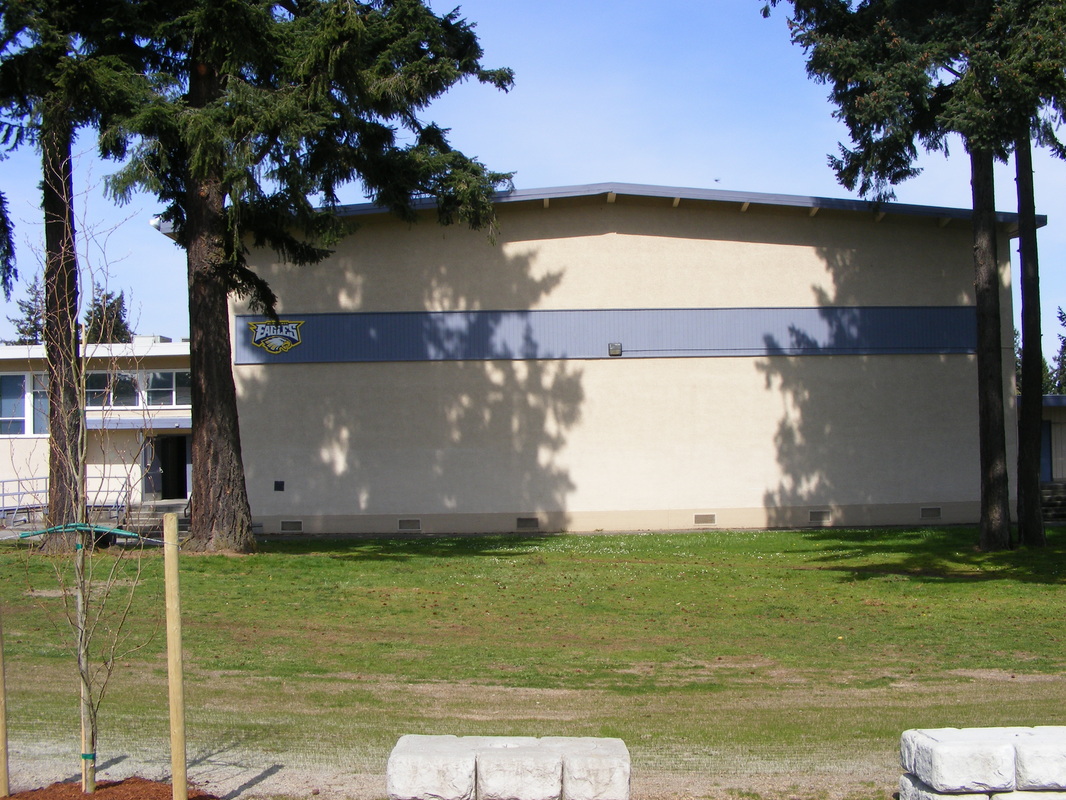
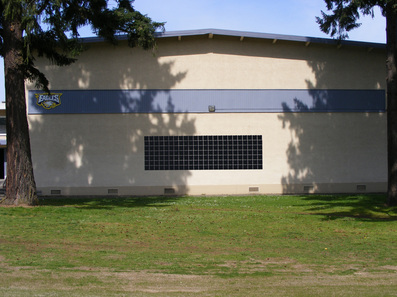
Ahh, yes. Great place.
|
The next step can be done two different ways:
You could select an image and have the kids work on parts of it, without them knowing what the final outcome would be.
Or, you could enlist the children's help, and ask them what they would like to see on the side of the school.
In our case, we had originally one art classroom composed of 20 kids of mixed grades, from 9 to 12; plus, we enlisted all the ninth graders to join the project, as part of their Career and Health courseload. These kids had very limited experience with art, and so we used our mixed art class as mentors for the 9 graders. The art class also helped us decide what image we would like to portray outside the school.
After a couple of days of brainstorming and lots of different sketches, they came up with the idea of an eagle flying over a West Coast landscape, with water and arbutus trees. This fit our message perfectly, as the eagle is the symbol for Woodlands, and the arbutus trees gave a very local flavour to the painting.
Armed with these ideas, Mrs. J went on to the internet to hunt for some photographs, in order to design a mural that not only would have those elements chosen by the students, but also look good on the wall they selected.
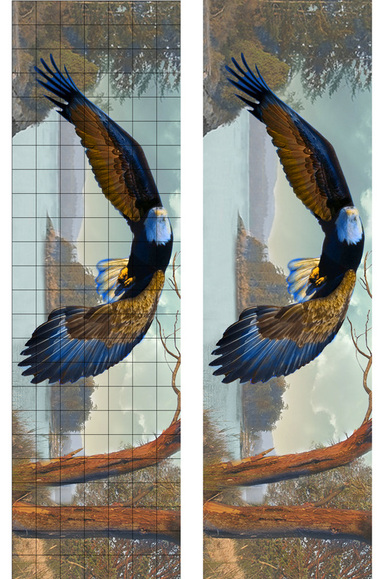
How to figure out what size will look good on the wall? Measure, measure, measure! We are art teachers, and so we took the more visual approach of cutting a one foot square out of black construction paper and taping to the wall; we took a photo from the wall and the square from far away, took it to the computer and, using Photoshop, played with the square, multiplying it and moving it around, until we were happy with the wall coverage. That sweet spot for us represented 168 tiles, or 7 feet high by 24 feet long. But you can do the measuring any way that feels right for you; eyeball it, measure with tape, guesstimate...
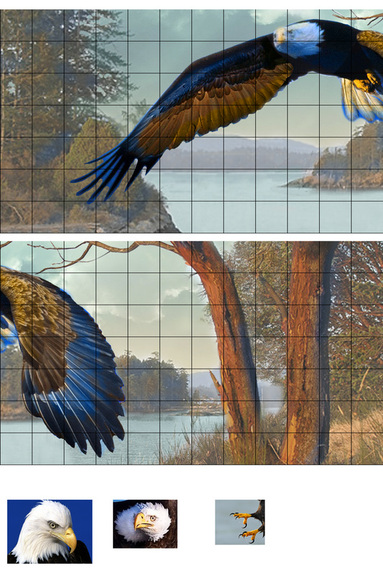
Knowing the correct ratio for the mural, Mrs. J designed a composite photo to serve as a guide for the mural, based on many different photos put together. You could also simply grab a photo and crop it to fit your needs, but due to the nature of the scenery imagined by the students, we needed something unique. See the composite below:
You could select an image and have the kids work on parts of it, without them knowing what the final outcome would be.
Or, you could enlist the children's help, and ask them what they would like to see on the side of the school.
In our case, we had originally one art classroom composed of 20 kids of mixed grades, from 9 to 12; plus, we enlisted all the ninth graders to join the project, as part of their Career and Health courseload. These kids had very limited experience with art, and so we used our mixed art class as mentors for the 9 graders. The art class also helped us decide what image we would like to portray outside the school.
After a couple of days of brainstorming and lots of different sketches, they came up with the idea of an eagle flying over a West Coast landscape, with water and arbutus trees. This fit our message perfectly, as the eagle is the symbol for Woodlands, and the arbutus trees gave a very local flavour to the painting.
Armed with these ideas, Mrs. J went on to the internet to hunt for some photographs, in order to design a mural that not only would have those elements chosen by the students, but also look good on the wall they selected.
How to figure out what size will look good on the wall? Measure, measure, measure! We are art teachers, and so we took the more visual approach of cutting a one foot square out of black construction paper and taping to the wall; we took a photo from the wall and the square from far away, took it to the computer and, using Photoshop, played with the square, multiplying it and moving it around, until we were happy with the wall coverage. That sweet spot for us represented 168 tiles, or 7 feet high by 24 feet long. But you can do the measuring any way that feels right for you; eyeball it, measure with tape, guesstimate...
Knowing the correct ratio for the mural, Mrs. J designed a composite photo to serve as a guide for the mural, based on many different photos put together. You could also simply grab a photo and crop it to fit your needs, but due to the nature of the scenery imagined by the students, we needed something unique. See the composite below:

After this, Mrs. J made a list of all the materials necessary, went to Home Depot and called the paint company, and did all of the legwork to figure out exactly how much the mural would cost the school. She created a detailed spreadsheet with the cost of the mural, as well as a PowerPoint presentation to show the principal of the school, in order to ask for funding. If you can, we recommend doing all the legwork before approaching the person responsible for funding; the PowerPoint even included a photoshopped photograph of the composite on the wall, as well as an average adult next to it, to give the principal a sense of what the mural might look like once completed.
168 X 1' squares
|
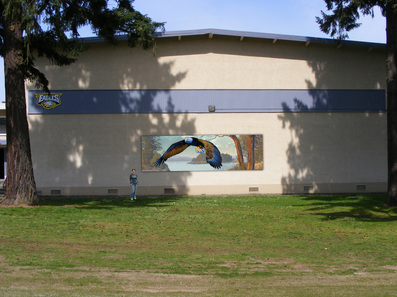
The composite on the wall
|

|
Woodland's Principal at the time, Mr. Dave Stupich, was extremely supportive of our mural, and understood the value it would bring to the students.
He approved of our estimate without objections, and we proceeded to visit Home Depot to get the materials; when Home Depot found out what we were doing, they did not charge us for cutting all the one-inch squares, and did it in a very precise and careful manner. It took them over an hour, but the effort really paid off. We suggest letting your suppliers know of your planned project, as they tend to want to contribute somehow. Make sure your estimate has tons of details, including product codes, because you will have to return to the store and find all of those items once you get the funding. Note Mrs. K picked two complementary colours to complete the mural: blue and orange, plus white and black. This helped keep the mural within a certain colour scheme. We also got a few other colours as detail and accents. |
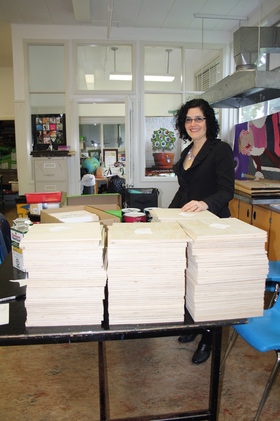
We took the boards to the classroom, and Mrs. J proceeded to sand each and every one of them all around the edges, to make sure that the children would not get splinters.
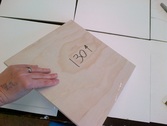
We strongly suggest you do this wearing a mask, clothes you can throw on the wash, and cover the floor with roll construction paper, as the dust is something pernicious. After sanding was done, every tile was labeled with a number on the back with black Sharpie; an arrow was placed to indicate what side was up. To do a mural such as this, it is very important that while you give the kids freedom to choose their own spark and represent it as they wish, you still have a good underlying drawing, to ensure that the end product resembles your composite. But before passing the drawing onto the tiles, we needed to have the photograph printed out, so that every square could be passed on to the tiles. A printing company was contacted to make sure what was the size of their biggest poster printed in-house. Based on this, Mrs. J created a file on Photoshop of that size, and blew up the composite, laying it the most efficient way possible in order to have the print-out be really big. |
|
|
|
Mrs. J is smiling because she has not started sanding yet! And to think her suit looked so black just a few minutes prior.
|
The poster above was designed to help children sign up for the mural. It remained intact until the end of the project.
|
The poster above was designed to be cut up, so that the kids would have a colour guideline to follow when working on their tile.
|
