
Click here for page 2
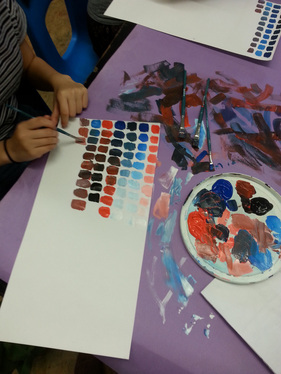
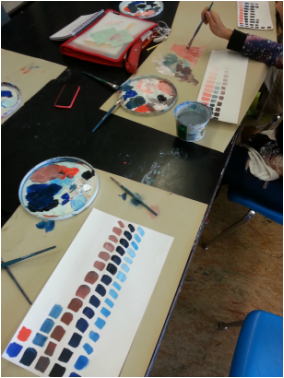
One of the most complicated things about making a mural with so many children is trying to keep the colour scheme tight, so that the end result goes well together and the picture "reads" properly. Our children were in vastly diverse levels of artistic ability, and so Mrs. K suggested that, in order to simplify things, we would stick with a colour palette of complimentary colours: blue, orange, white and black. After deciding on which colours to use, we helped the kids work on a colour palette exercise, so that they could understand how many shades, tints and variables they could get from just those four colours.
|
|
|
|
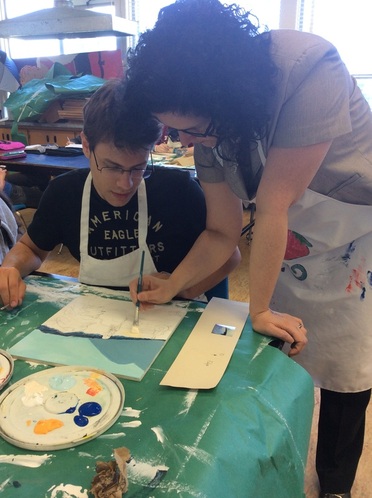
Once this exercise was completed, we helped the kids move their drawing onto the wood panel by using the light table; they traced the drawing on the back side of their paper, then moved the drawing to the wood panel by placing the paper over the wood and tracing over their original drawing, thus moving the graphite of the backside onto the wood.
We premixed a large quantity of light blue with a speck of yellow to bring it to a slight turquoise, a rich brown and also a light golden colour for the wings. For the actual painting, we brought out the yellow, and used it very sparingly. |
|
|
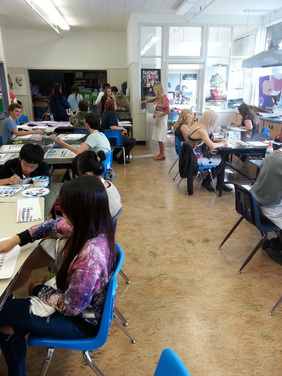
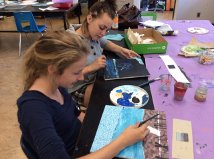
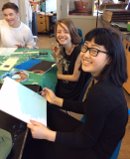
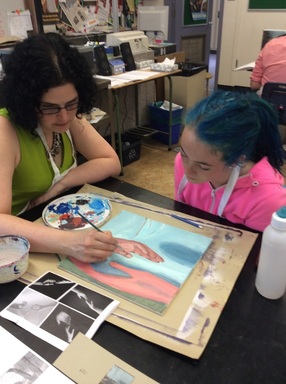
The students came up with some pretty amazing ideas. Below, you can see some pictures illustrating the process.
|
|
To the left: Arts
To the right: Brazilian Music |
|
|
|
The spark: Helping others
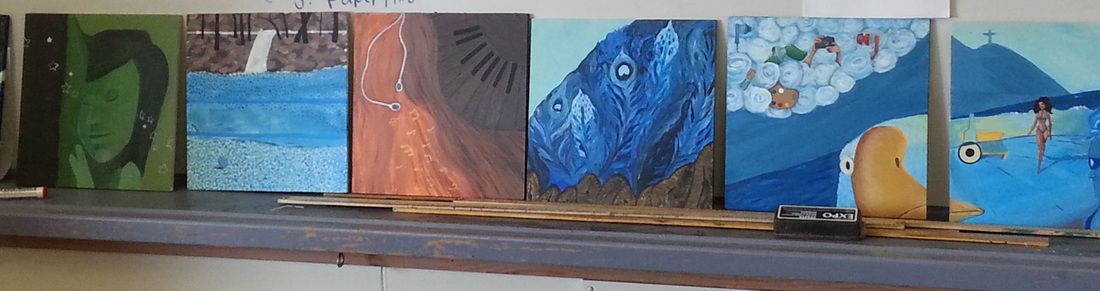
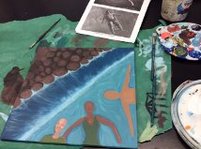
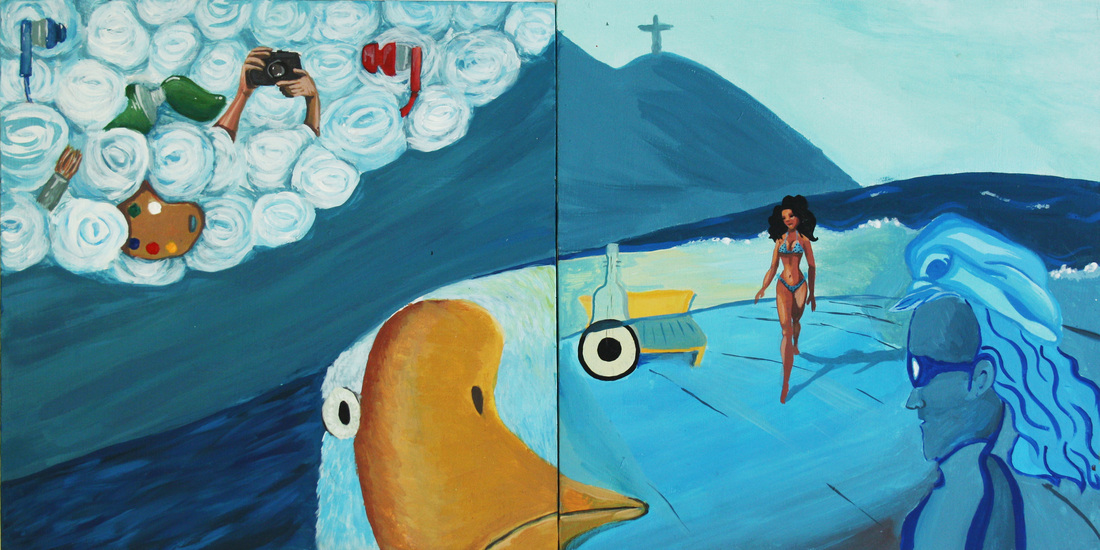
From left to right, the sparks: dreamworld, beach volleyball, music, painting (and birds!), the arts, Rio and Tom Jobim
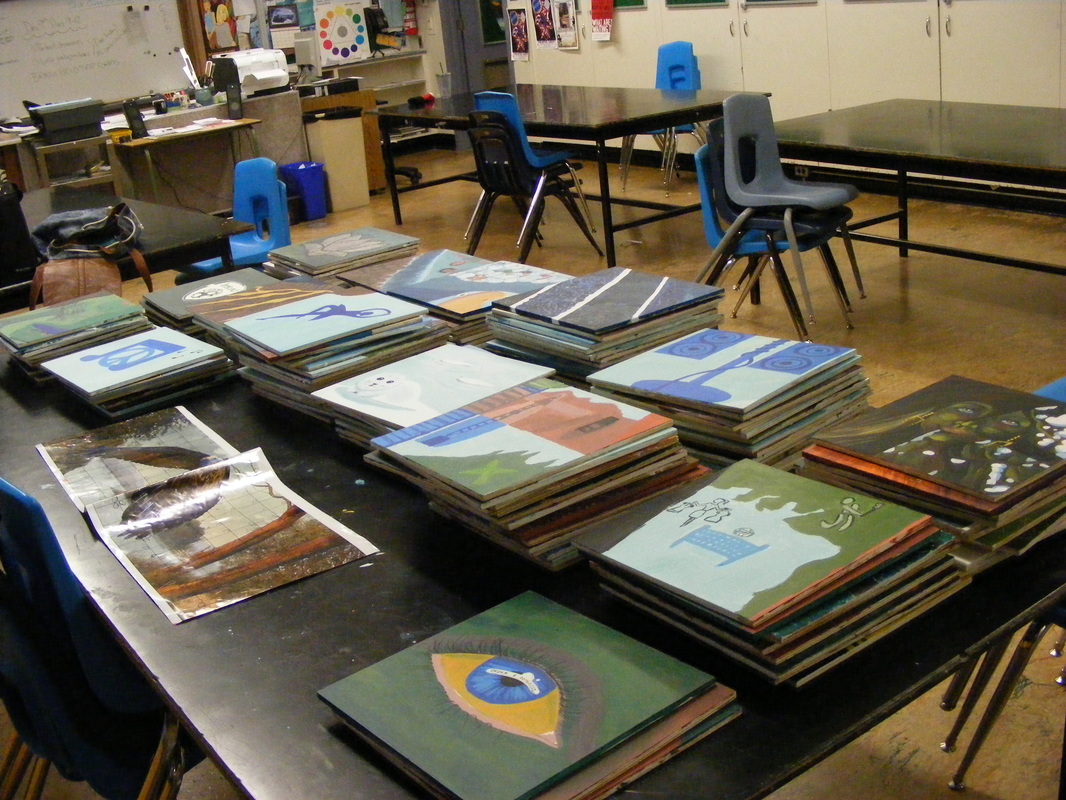
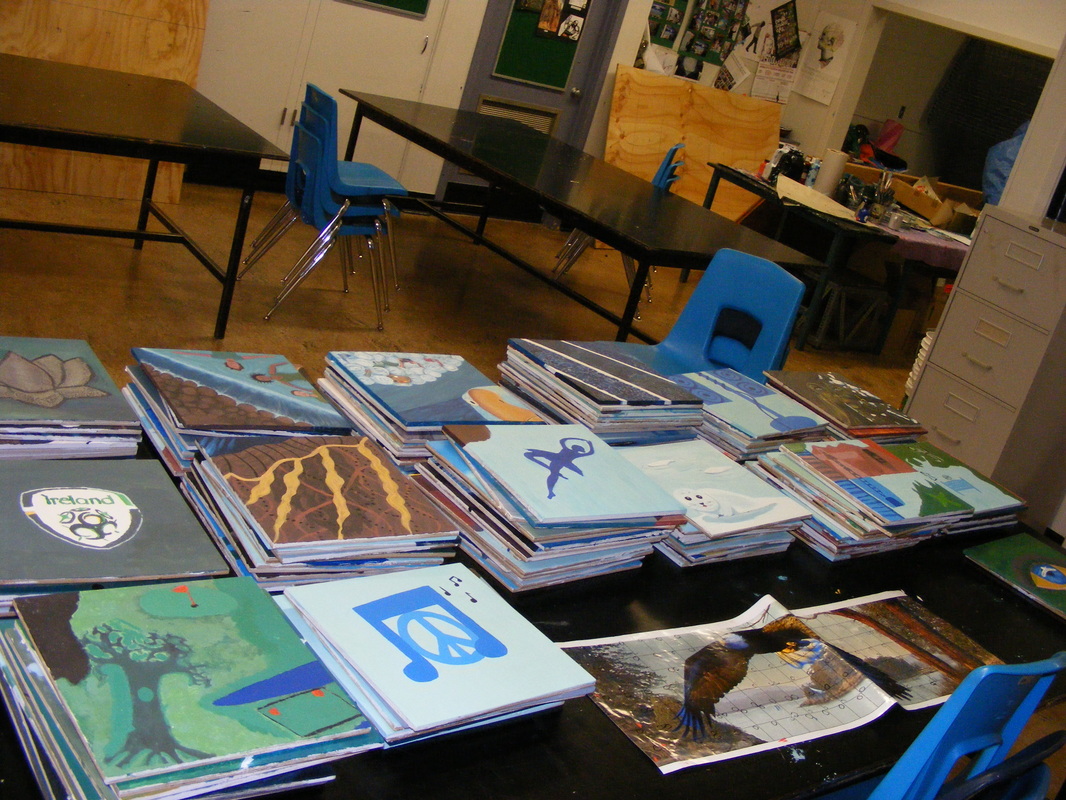
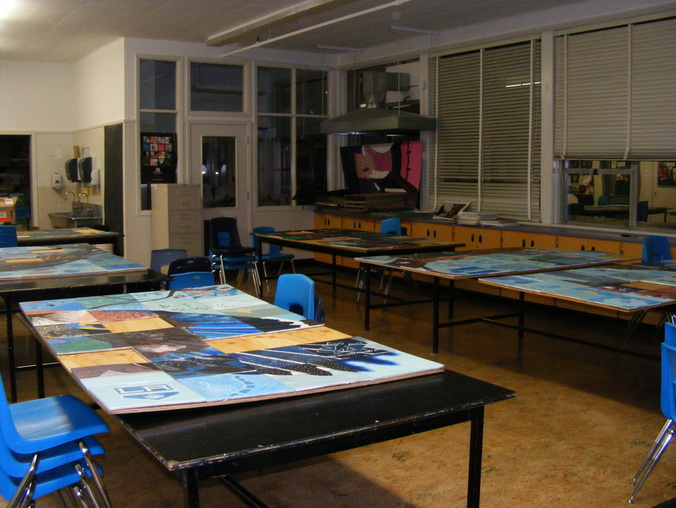
Once we had most of the tiles ready, it was time to put them together, so that we could inspire the few last students who signed up for tiles to complete their work. The first step to assembly was to put the paintings in separate piles, one column for every panel to be assembled.
|
|
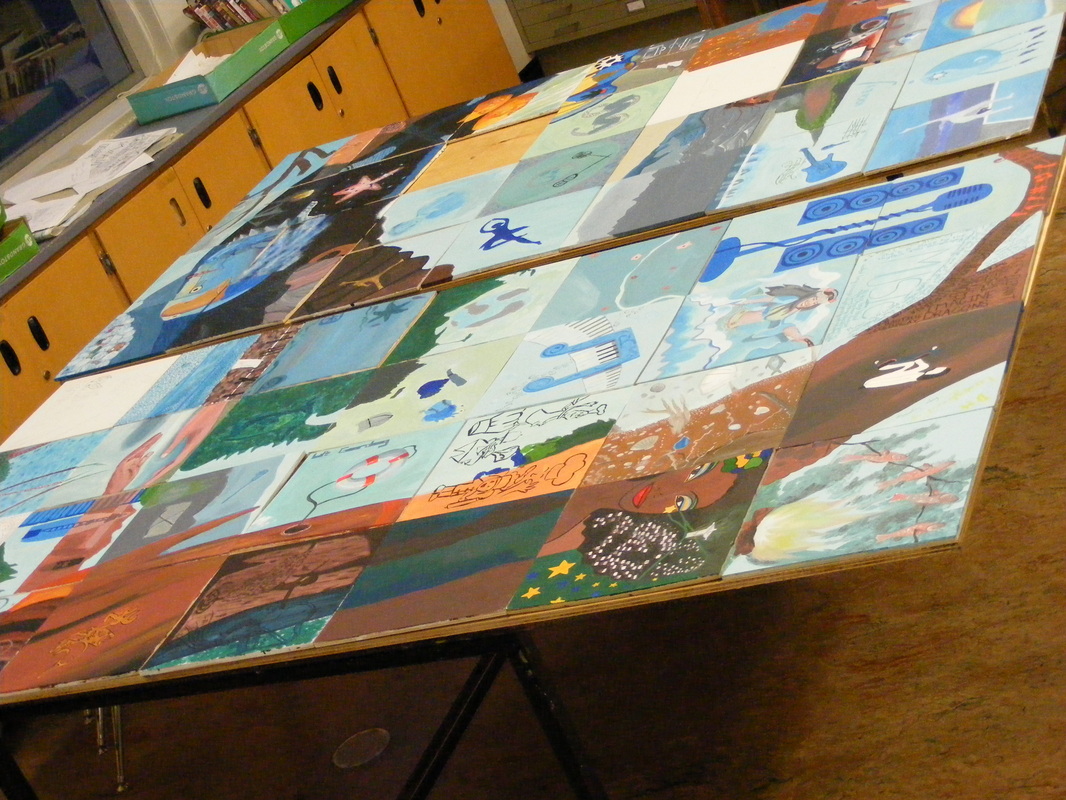
Then, the large 4'X7' boards were placed on the tables, and the tiles were placed on their right spots; no glue was applied yet.
|
|
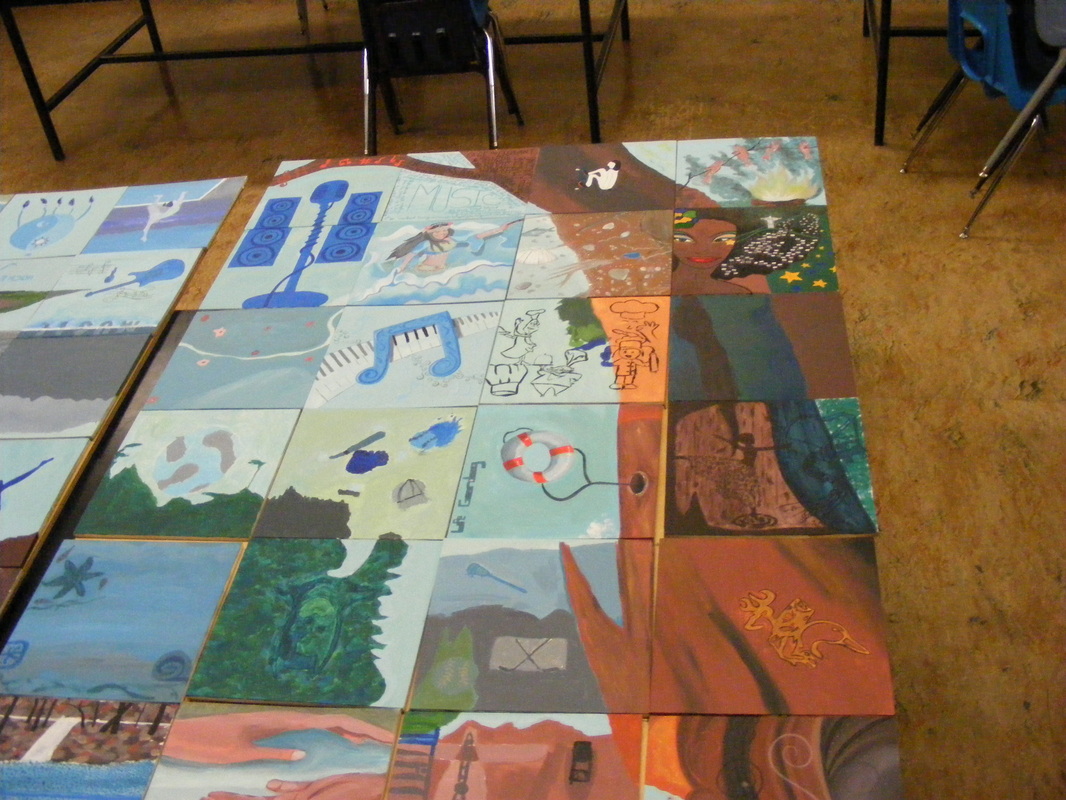
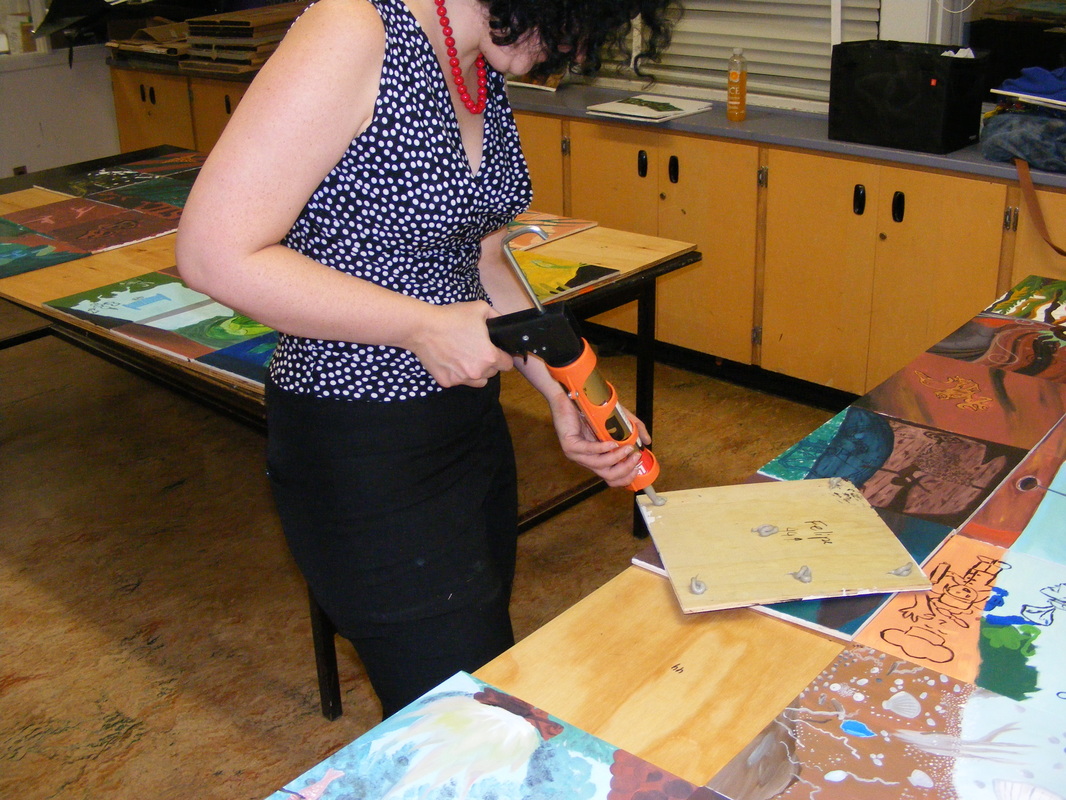
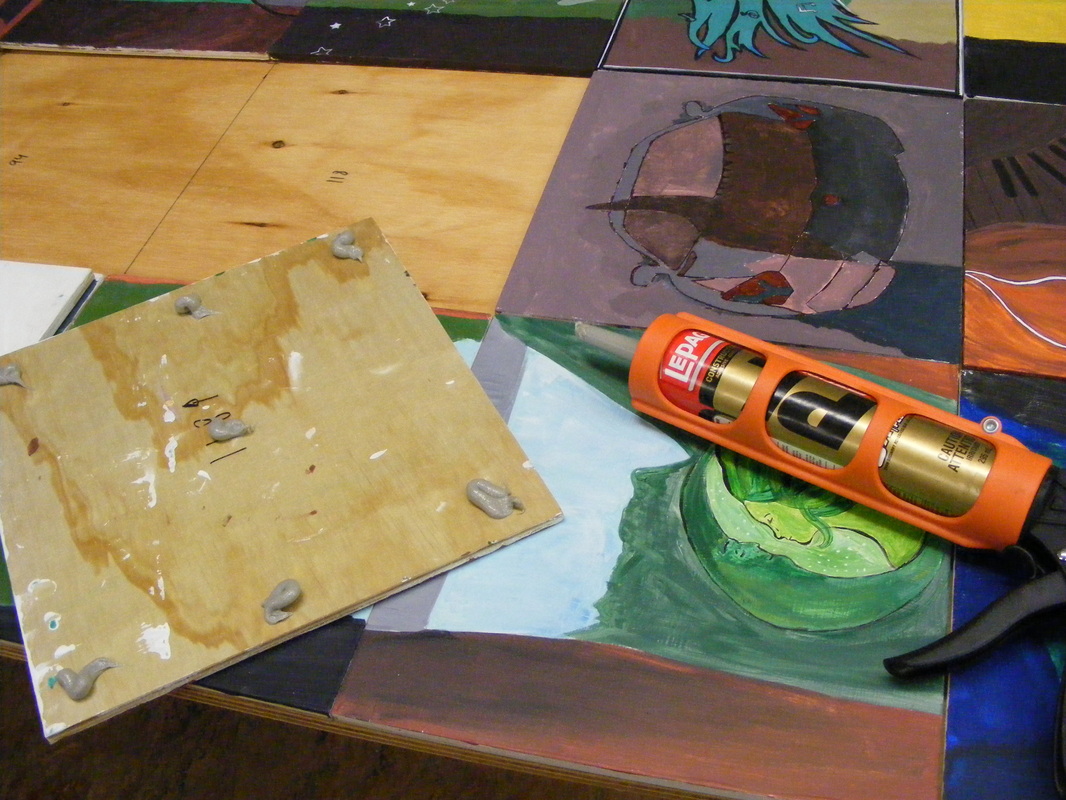
Using a high grade construction glue, several beads of glue were applied on the back of the tiles. To make sure the tiles are placed correctly, glue all four corners first, then adjust the tiles' placement in between. Glue all the outer tiles, and finally the ones in the middle.
|
|
Once all tiles were glued down, the boards were left alone overnight to cure.
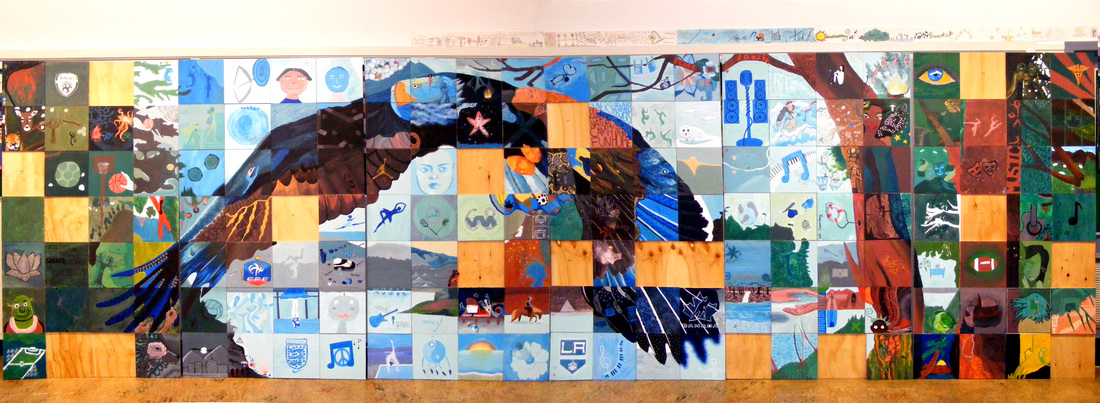
The next morning, we stood the boards up. Below, you can see the results.
Some areas need to be lightened, but overall, we think it looks amazing.
Everyone did a great job!
Some areas need to be lightened, but overall, we think it looks amazing.
Everyone did a great job!
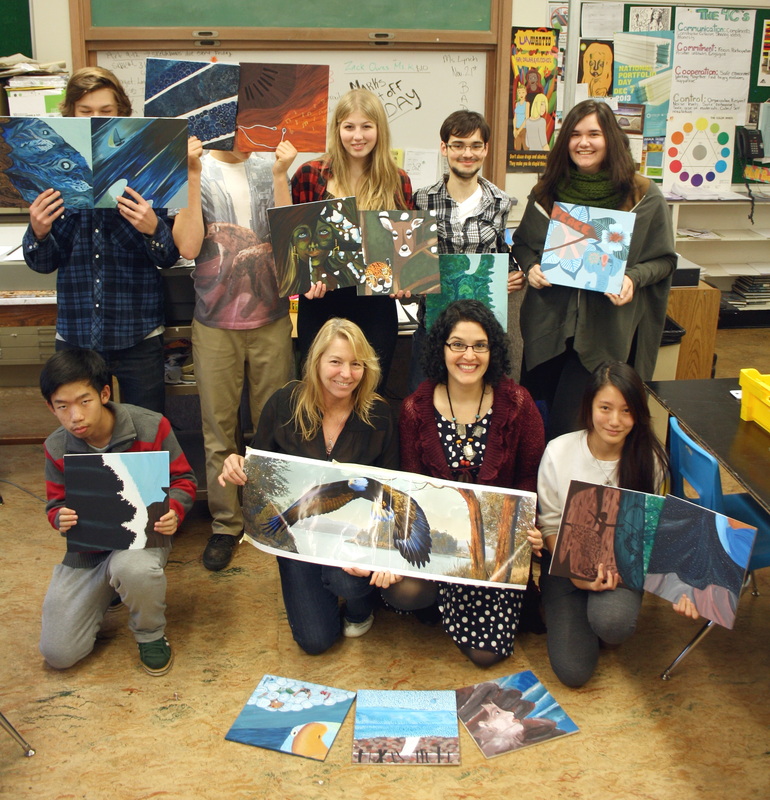
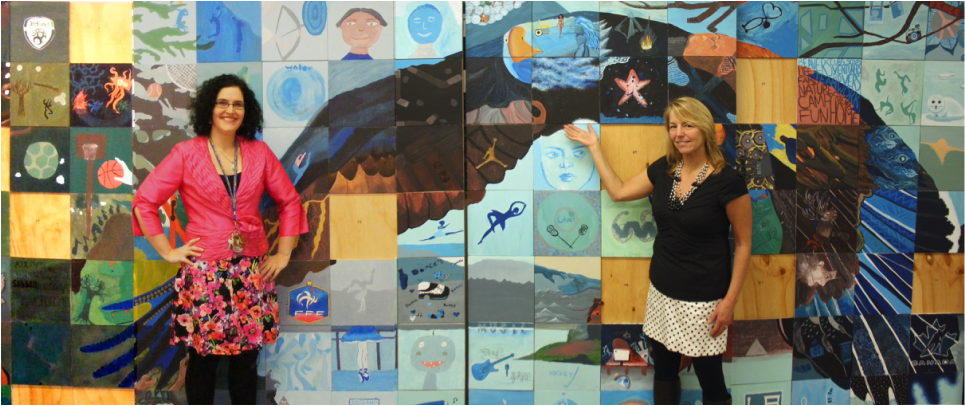
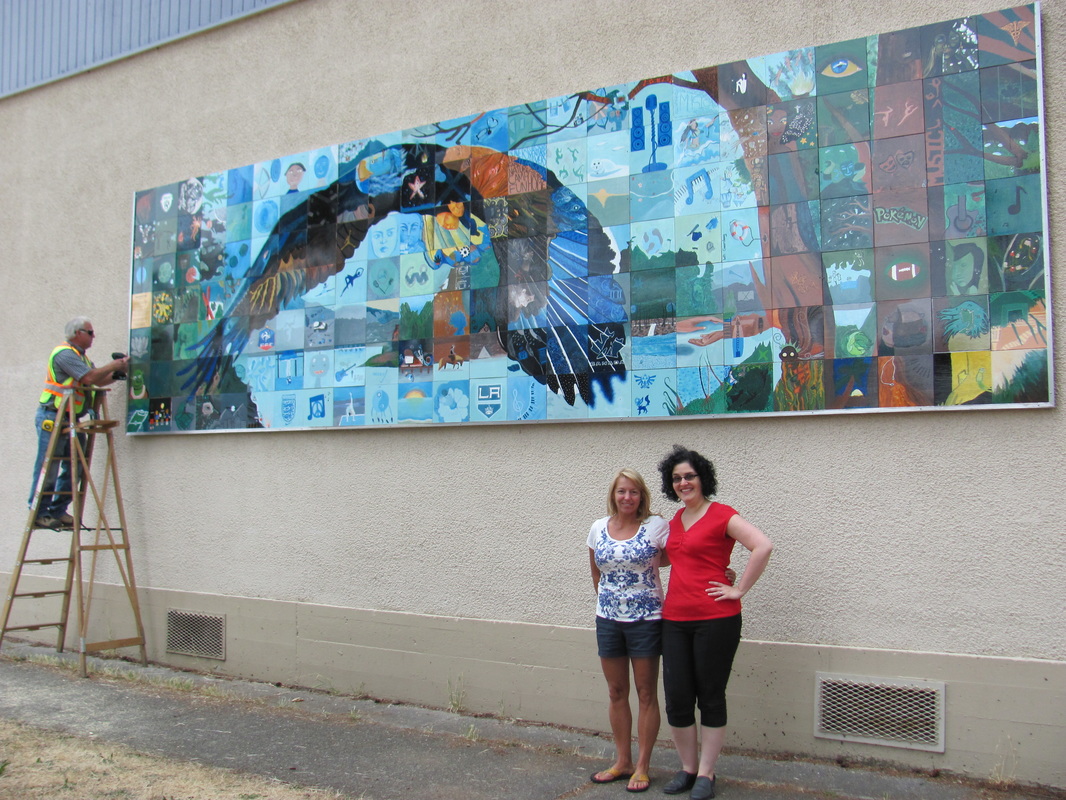
Here is us, down to the final 18! This mural is so large in person... Mrs. J is 5'9" and wearing heels!
Besides the mural tile, the other very important component of this project was the sparks write-up. Students had to deliver their tile with an accompanying reflection on their spark, with things such as why have they chosen this particular activity as their spark; what the tile imagery represents; what are their hopes for the future, and how they feel about their spark overall.
This write-up is extremely important. We suggest that no matter what project you decide to undertake, a reflection be included in the end. It helped students consolidate their commitment to this positive part of themselves.
This write-up is extremely important. We suggest that no matter what project you decide to undertake, a reflection be included in the end. It helped students consolidate their commitment to this positive part of themselves.
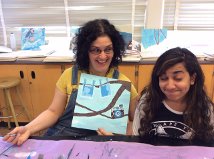
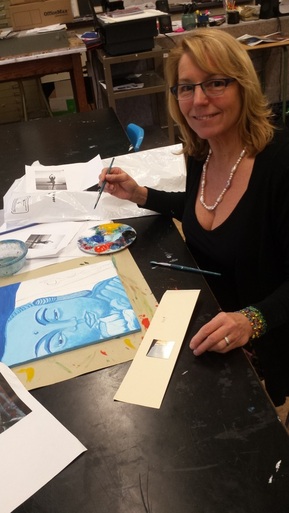
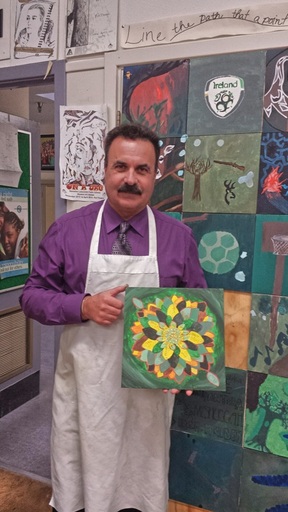
We also made our own tiles and did our own write-ups! The students really enjoyed seeing us become part of the process, and it is always nice to lead by example. Here are Mrs. K and Cpl. Cusson with their tiles:
|
|
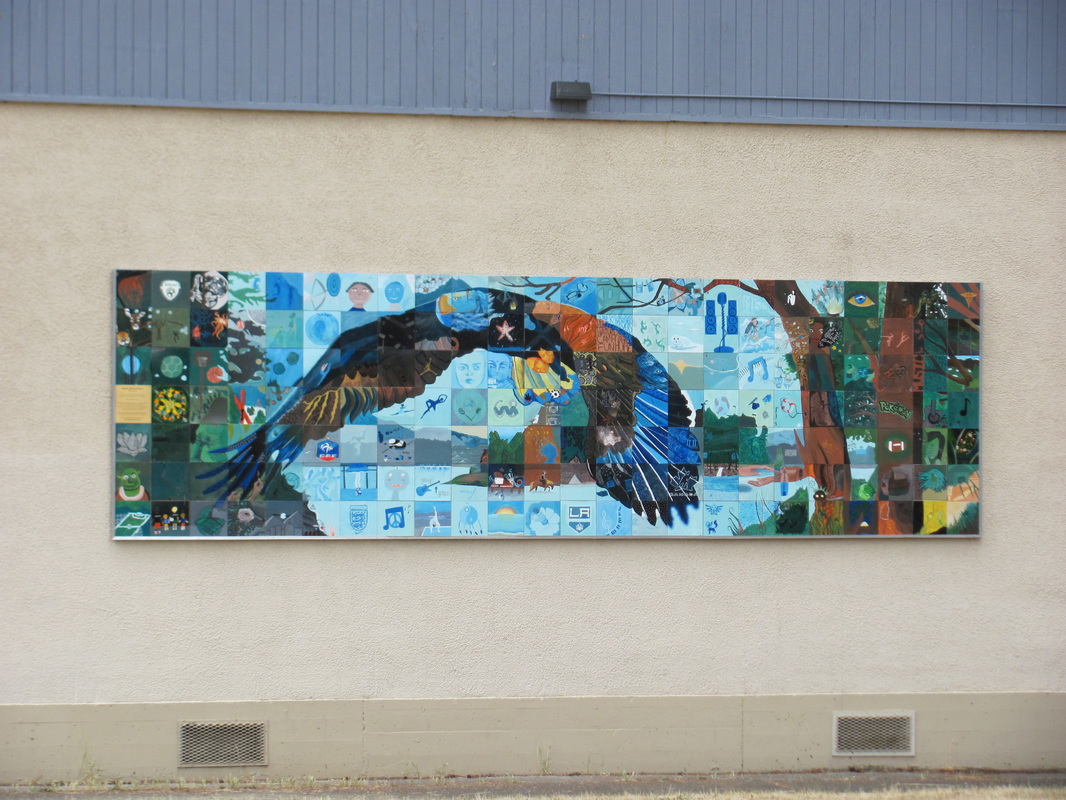
The mural finally went up right before Summer break, in 2015.
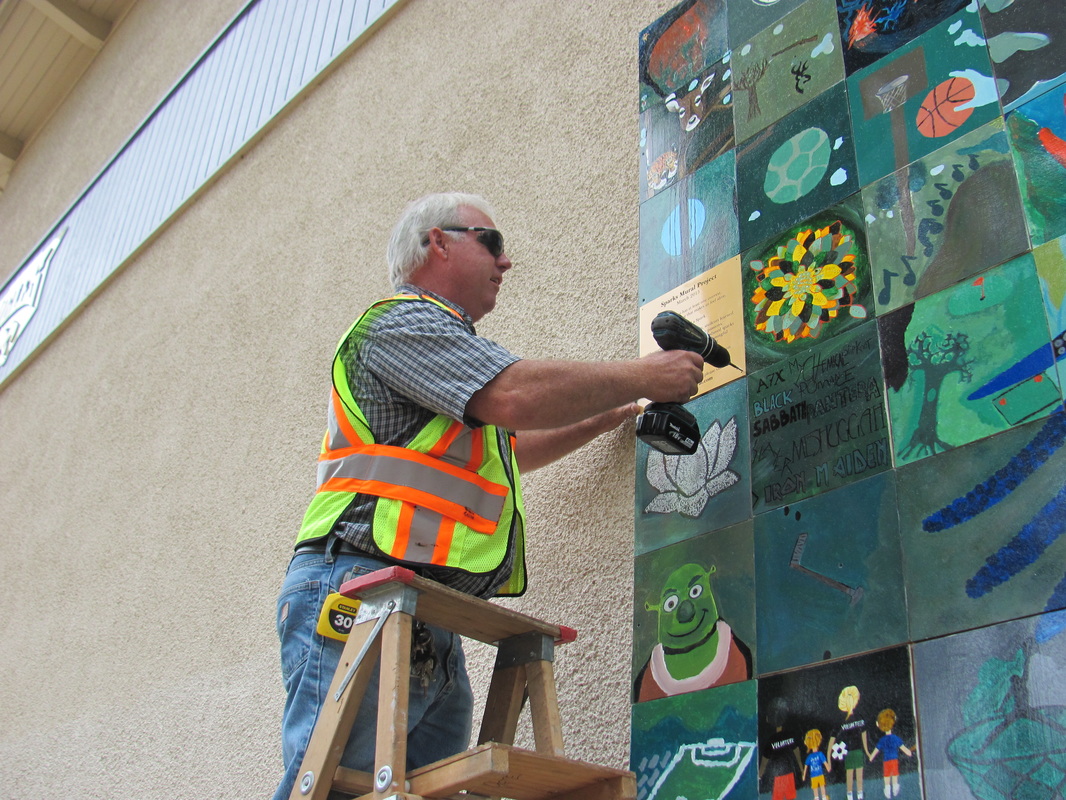
|
|
The result was much better than we expected. What a wonderful celebration of our student's Spark and passions!
What Sparks project will YOU make with your school? Please keep us in the loop!