
Click here for part 1
Mural Process - Part 3
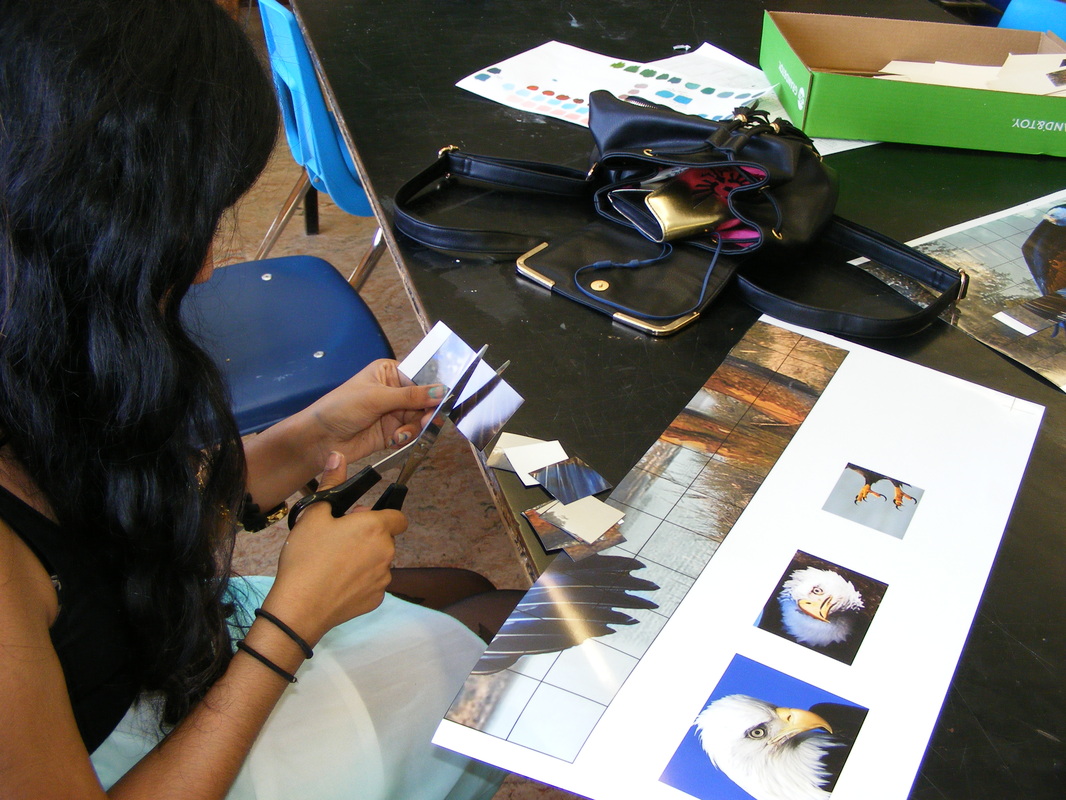
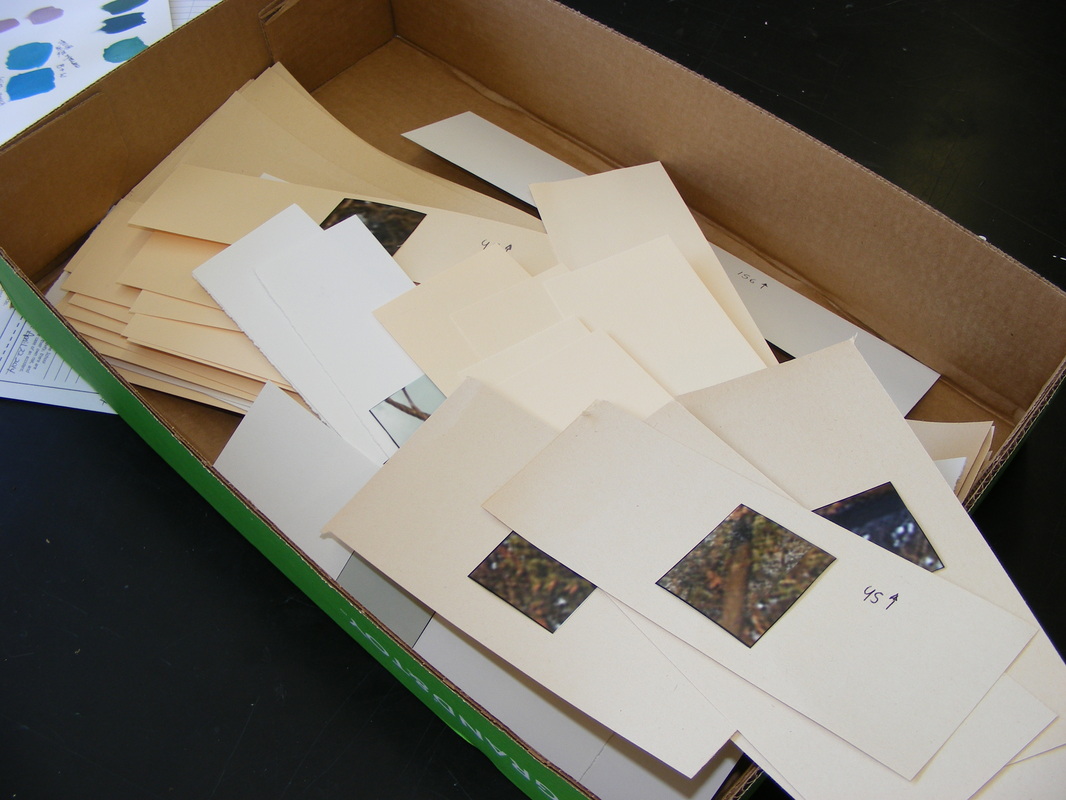
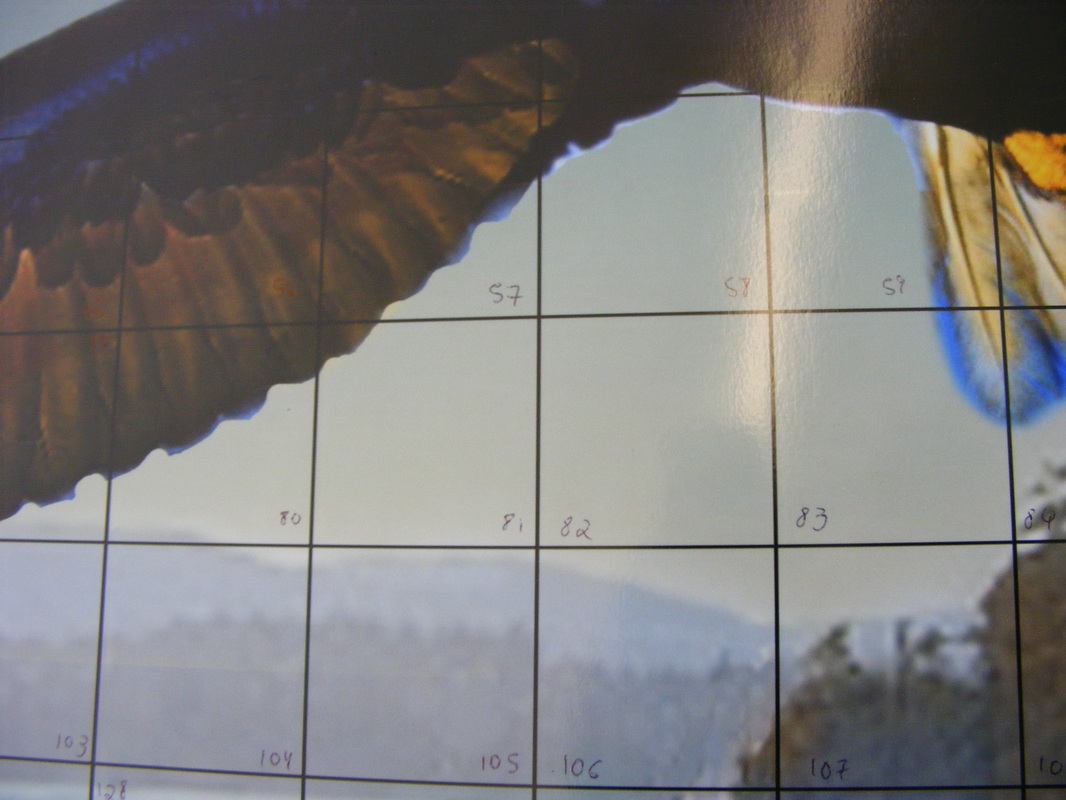
While leaving the other posters unharmed, we enlisted one of the students to help us cut the squares of the larger poster. As they were being cut, they were numbered according to their location on the mural, and securely taped to a piece of scrap paper. These were placed in a box, and organized in groups of ten, so that the students could easily find their square.
|
|
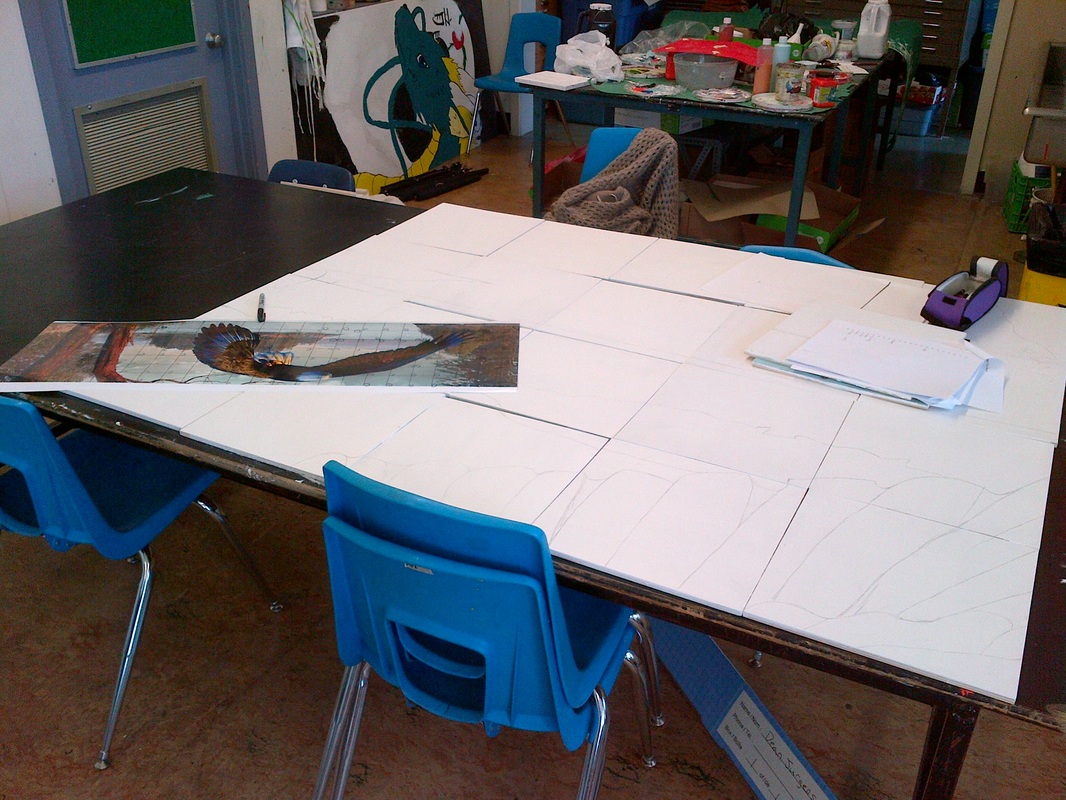
Once the squares were cut out, we enlisted the help of our art students to prime the boards on the side without the number. They all primed the boards twice, so that it would permeate in the wood and save us in paint; the better your coverage, the less paint you will waste, as the wood naturally will absorb paint.
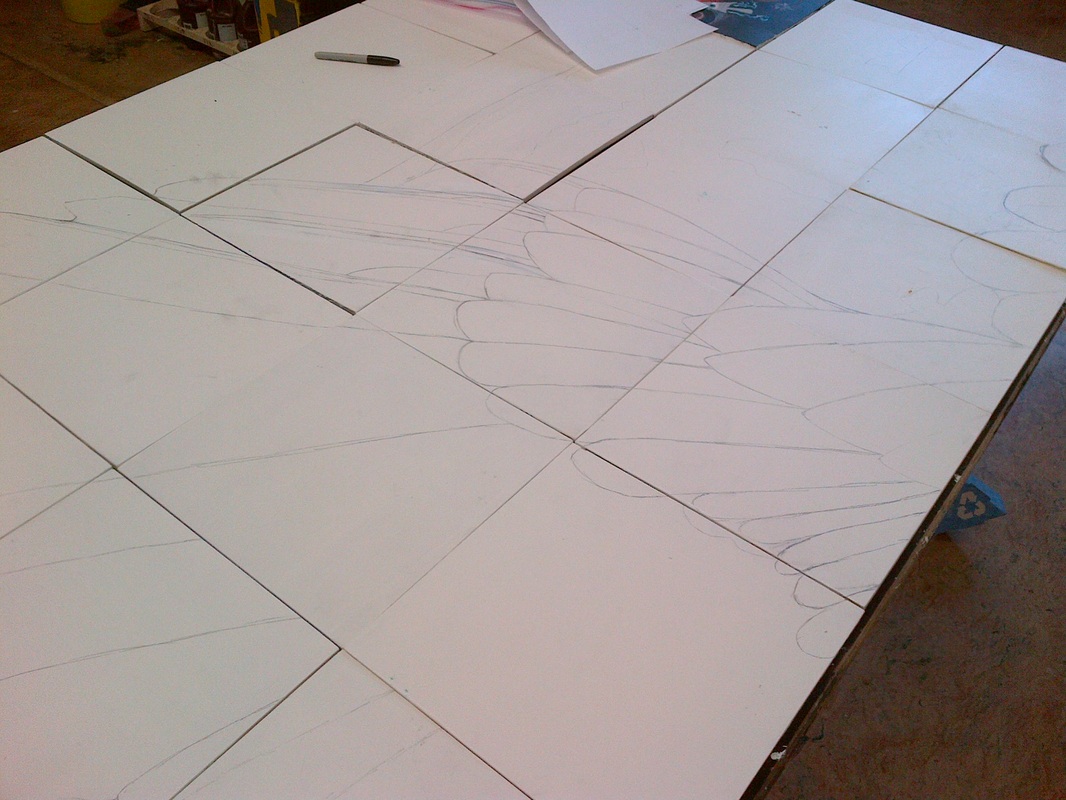
With the boards primed and dried, Mrs. J laid them out on a large table, and started copying the main lines of the drawing onto the boards. She did this mainly eyeballing; if you can find someone who has a talent for drawing, it will save you a whole lot of time, as enlarging each individual square onto the larger square would be very time-consuming otherwise.
With the boards primed and dried, Mrs. J laid them out on a large table, and started copying the main lines of the drawing onto the boards. She did this mainly eyeballing; if you can find someone who has a talent for drawing, it will save you a whole lot of time, as enlarging each individual square onto the larger square would be very time-consuming otherwise.
|
|
After this was done, we felt that a simple pencil crayon exercise would be very beneficial for the students to see how the project was going to fit together in the end. This was crucial to bring an understanding of how important it is to respect the lines that go off the page. You may move lines that are inside, and adapt and change them to your design, but if you move the lines that go to the edges, the painting does not work when looking from far away.
We picked a landscape painting, printed it out and cut it into little squares. Each student received a small, pre-drawn 4"x4" square of paper, and we laid one box of pencil crayons per table. The students coloured their squares in, trying to keep up with the colour scheme and trying to respect the lines. Once we put them all together, the importance of sticking with the colours and lines became evident.
We picked a landscape painting, printed it out and cut it into little squares. Each student received a small, pre-drawn 4"x4" square of paper, and we laid one box of pencil crayons per table. The students coloured their squares in, trying to keep up with the colour scheme and trying to respect the lines. Once we put them all together, the importance of sticking with the colours and lines became evident.
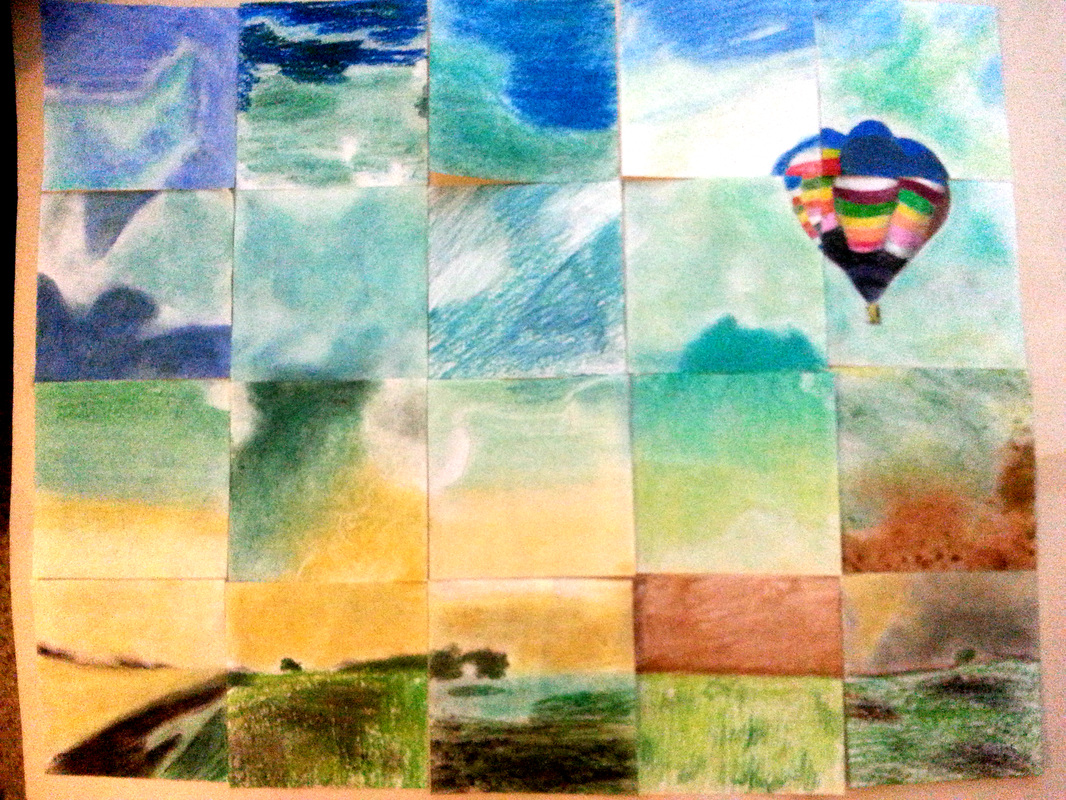
See the balloon, how it has an extra blue band? The student now knows that it is important to stick with the pre-drawn line.
|
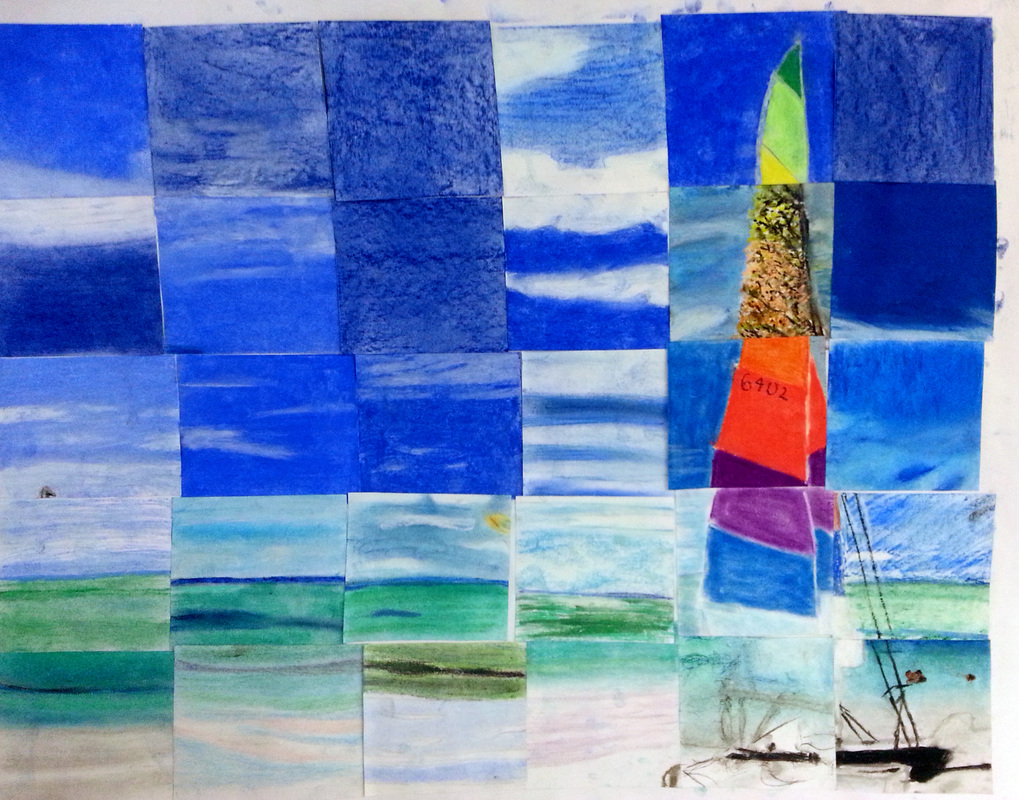
Note the sail, how one student decided to make her mark by using a beautiful texture to build the colour. This should be encouraged!
|
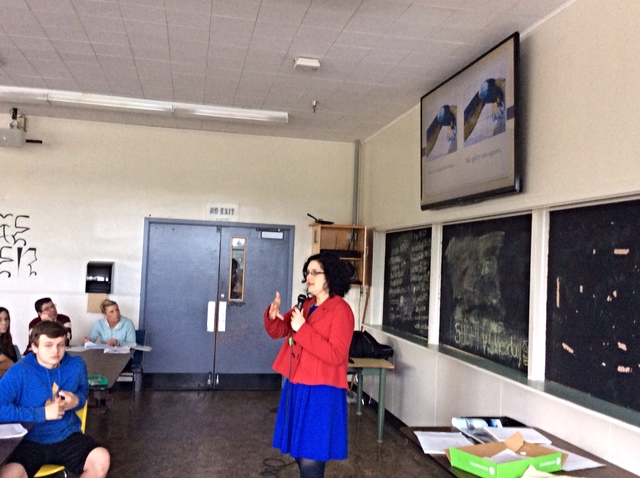
After the students had done the small square exercise, Mrs. K and Mrs. J spoke to the art students about Sparks and developmental assets. The art students received worksheets that can be found here. After this, all the nine graders from the school were gathered in the cafeteria, where Cpl. Cusson and Mrs. J delivered a presentation explaining to students about the concept of Spark and developmental assets as well. We explained to the students about our idea for the mural, and gave them all the option to either sign up for a mural tile, or deliver a video or PowerPoint presentation.

|
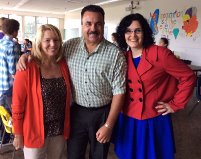
Mrs. K, Cpl. Cusson and Mrs. J
|
|
Most of the students chose to participate on the mural. We used the unharmed poster to help the students decide what square they would like to paint. We had a website set up to help us with the sign-up, but you can easily do the sign-up on a Word document. By the end of the presentation, all students had received the worksheet package found here. We helped the students brainstorm and also helped some students who were struggling to figure out what their spark was by kindly guiding them through positive activities they engaged on daily, and figuring out which ones made them happy the most.
|
|

|
Students were also given a blank piece of paper, 14" by 11"; we drew a line at the 12" mark, making a square of 11" by 12", almost the correct size of the tile they were going to draw. We proceeded to help the kids copy the lines from the tile onto the sketch paper, and helped them brainstorm their imagery and figure out how to fit them onto the guidelines. After students thought of a good imagery for their spark, we allowed them lab time to find some photographic sources for their images when necessary.
|
|
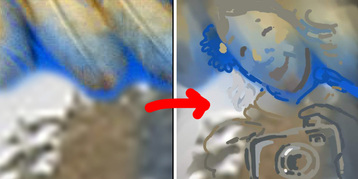
To the right, an example we used to explain to the students how any tile can become their spark. On the very left, there is a piece of the eagle's tail and some bushes; with a little bit of imagination, you can turn this colour scheme into a painting of a girl holding a photograph camera, for instance.
With out help, after figuring out what their spark was and define what symbols they were going to use to depict their spark, kids were able to abstract their idea and figure out how their tile would look like. |
|